Photobucket Photobucket Photobucket Photobucket Photobucket Photobucket

Saturday, May 29, 2010

The Real Pink Saturday Birthday!

Well I goofed. I thought last week was Pink Saturday’s birthday, but its really today. BUT in my own defense, we celebrate birthdays for about a week around here, so for me its been a week long celebration!! (I know, just an excuse to eat more cupcakes ) So in more celebration, I bring you beautiful pink parties from around the web!

pink-party-23610

pink-partybus

From Australia Entertains:

pink-party-1

From TomKat Studios:

style me pretty PINK party

Have a great Pink day!!

Wednesday, May 26, 2010

Meaningful Jewelry Box

A few posts back I told you about my husband and I separating last December and deciding in April to divorce. I have still been wearing my ring because I wasn’t ready to take it off and even if I was, I didn’t have, what I thought, was a special enough place to put it. I don’t change my jewelry often, so I haven’t really had a need for a jewelry box. I looked at different stores and thrift stores and never really found anything I loved. While at Michael’s one day, my father pointed out this unfinished box and I decided I would make my own:

unfishedbox

With drawer open:

unifinishedboxopen

I didn’t take step by step pictures of the process. It was actually kind of difficult emotionally to make because I knew when it was done, I would probably put my ring in there right away, so I took my time with it.

Here is what I did:

Painted the box with Behr Ultra in Millstone, same paint as I used here. Next, I found some nice scrapbook paper in my stash and used that in the squares, the drawer and behind the glass in the lid. I also had my name cut in brown vinyl from the wonderful Shelley of  Wonderfully Wordy. I placed the vinyl on top of the glass and the paper underneath. Lastly and probably most importantly, I used a monogrammed paper napkin that I found at Michael’s and cut out the C to represent my last name in the upper left corner. That is where I will put my ring, in a cute small drawstring bag. Here are the finished pictures:

boxinside

boxcgood

boxinsidedrawer

boxdone

I just need to put the hardware back on and its all finished and ready for a new home.

I will be linking to all these great link parties this week.

Sunday, May 23, 2010

Makes My Monday – Kam Helps Again

I have a feeling that most of my Makes My Monday posts will be about Kam. He is the light of my life, so I’m not surprised. I might throw a cupcake or two in there too lol.

This week he was all about helping again. Every time either I or my father need to do something around the house, the first thing Kam says is “ I want to help you” and he does. He is a great helper.

This week he helped grandpa hang my garage sale curtains that I purchased for $1.

putting up curtains

Its fun to watch them doing things together =)

Make my monday is hosted by Cheryl at Twinfatuation.

Saturday, May 22, 2010

Crochet Projects

These are some crochet projects I did for this past Christmas. I did not have a blog at the time, so I am showing them now. I used the Serafina Pattern for the shawls using Joann’s Sensations Rainbow Boucle yarn. It was not written for this yarn, but as you can see it looks like it was. It stripes perfectly. I also did one other for my son’s daycare “mom” but I don’t have picture of it since my other hard drive crashed =(

aquaserafina1

aqua22 aqua33

blackserafina1

black22 black33

At first it seems like a really difficult pattern. I had to make the first 7 rows with regular yarn so I could see what I was doing. After getting the hang of it, I used the boucle and it was very forgiving. And soft! I need to make one for myself one of these days. I never seem to crochet for myself lol.

Linking to these parties this week. Have a great weekend!!

Happy Birthday Pink Saturday!

Pink Saturday is a wonderful collection of ladies who posts their interpretation of pink, every Saturday. That’s my favorite color! So I thought I would join in the fun. And what better day to start than Pink Saturday’s 2 year anniversary! So in honor of Pink Saturdays birthday, I give you pink cupcakes! Enjoy and happy birthday Pink Saturday!!

pink_cupcakes

pinkcupcakes

pink cupcake email

(these are a part of a collection of pictures I have had on my computer that I have found or have been sent to me. I do not have the sources. I do not claim them as my own)

Happy Birthday Pink Saturday!

Friday, May 21, 2010

I scored big time!

This past weekend, before all the moving going on, I decided I had to get some retail therapy going. I found a local garage sale and for $3, seriously, $3 I got the following:

redone

I’m pretty sure that bowl on the right is milk glass right? If anyone can tell me, I would be grateful. Next a crystal decanter. It has the sticker and it says its crystal, made in France. Then this great wooden box with coasters and finally a white teapot.

I also got 2 pairs of curtain panels:

curtain 

See how well they match my new floor? ( that will be in another post)


I’m pretty excited and just wanted to share =)

Wednesday, May 19, 2010

Pizza Pan ~Into~ Magnet Board

Last Sunday in the Sunday Showcase I saw this posting by the very talented Jennie of Cinnaberry Suite and I said that I had to do this. These memo boards are just so cute. So here is what I came up with:

magnetboard

I went to the Dollar Tree and there were NO cookie sheets. Really? None? Yes NONE. But they had Pizza Pans. AND they were 12” so I thought, ok my paper will fit using only one sheet, lets see what I can come up with. So here is what I did:

012

I sprayed primer along the outside edge of the pan and on 4 magnets:

013

Next came Ivy Green spray paint:

017

(Dont mind the overspray from my memo board project)

While that was drying, I used a plate to make a circle on the back of my paper. The inside of the pizza pan is 11.5” and my plate is 11.25” so I was pretty close:

015

That picture up there is actually of an oops. I had traced a pan that was 12” and when I cut it out, it was too big. Then I actually measured the inside of the pizza pan and redrew the circle and cut. So pretend this is right, k?

Next came the Mod Podge:

018

Then my perfectly fitting paper:

019

Next I hot glued cording to the inside edge of the pizza pan. I did not photograph this part and I have no vampire excuse this time =)

I punched out one 1” circle and mod podged it to one of the painted magnets. Then I glued a thumb tack with E6000 to the magnet part in the back to make this a pin back so I could put it up on the wall. Lastly I hot glued ribbon to the back of the board. I also cut 2 butterflies and hot glued them in the same area as my cording meeting, so you cannot see the way it sits ( Its not pretty). And voila, a hanging pizza pan turned magnet board:

magnetboard

032

magnetboard3

magnetboard4

That’s one of my favorite pics of Kam when he was smaller. Time flies!

I’ll be linking to these great parties found here.


I'm entering this magent board at the CSI Project.

Rose Topiary

Anyone who has been reading my blog, knows that I am obsessed having alot of fun making my roses. Well I decided to do a little twist on them. I wanted to know if I absolutely had to use felt to make them stable enough or could I use other fabrics. I decided to try some cotton backed with Osnaburg which is a fabric with a similar texture to linen, but much less expensive, especially when you use a coupon. I got mine for $2 a yard after the coupon. So I tried and it worked. However they come out much smaller as you can see here:

002

Almost half the size. So it takes alot more to fill up a space than the ones backed with felt. It took be half a yard of each fabric plus Heat N Bond to make my Rose Topiary:

>

It was very hard to take a good picture of this in my livingroom.

Here is a picture of just a small amount of the flowers I used:

021

I love the print I used. Its this here. I thought it matched the new colors in my bedroom perfectly. Here is a close up of the top:

026

I used this tutorial for the butterfly. Then I applied some Spanish Moss from the dollar store to the bottom:

027

The little pot was painted with Behr’s Ultra Premium Paint and Primer in One in the color French Roast, which in my opinion is a close paint match for ORB. I had sprayed the dowel Ivy Leaf my Krylon.

This will go on the same shelf as my Live Laugh Love picture, once the shelf is finished.

Here is it again:

I will be linking to these fabulous parties starting next week. If you have a link party that is not listed on my link parties page, please leave it in the comments or email me so I can join! I love link parties!

Have a great rest of your day =)

Monday, May 17, 2010

Makes My Monday: Kam Wants To Help

My son is at the age that he always wants to help everyone do everything. So he tries to help me do my crafts. I tried a new craft over the weekend ( more on that in a later post) and he wanted to help mommy with “Pod Podding” (mod podging) so I let him “paint” a little. I didn’t have the camera outside with me, unfortunately, but it was really cute.

I also have a project that I am finishing up and everytime he sees it, he brings it over and says “these flowers are for you mommy”. So here is my little man holding the project and at the same time, another sneak peek:

001 004

Make my monday is hosted by Cheryl at Twinfatuation. I thought this was a super cute idea as soon as I saw it and a great start to the week. Go check it out!

Sunday, May 16, 2010

Live, Laugh, Love

This is my new mantra. My husband and I separated back in December with the hopes of working things out and him coming home. We were both going to work on personal things that just were not getting the attention while being together. It didn’t happen. Last Thursday he flew back into town to get the rest of his things. He just drove out this morning. We had a good weekend today, with our son and with each other. We talked about alot of things and we know this is the best for us. We started out being friends and we are continuing to be friends, not just for our son’s sake, but for us too. We get along much better without the pressures of being in a relationship.

I have grown tremendously in the last 6 months, as a person, as a mom, as a friend and so how has. But in the long run, we know this is best and we are both sincerely fine with our decision.

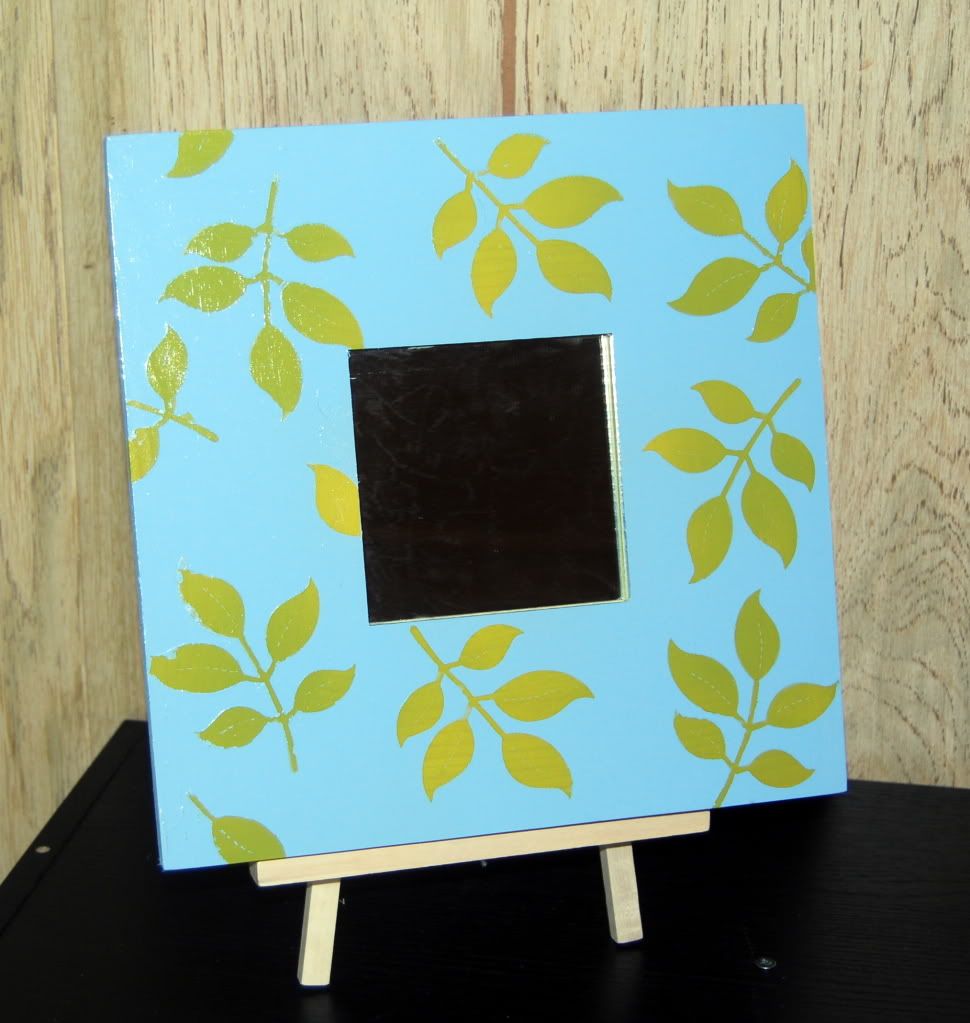
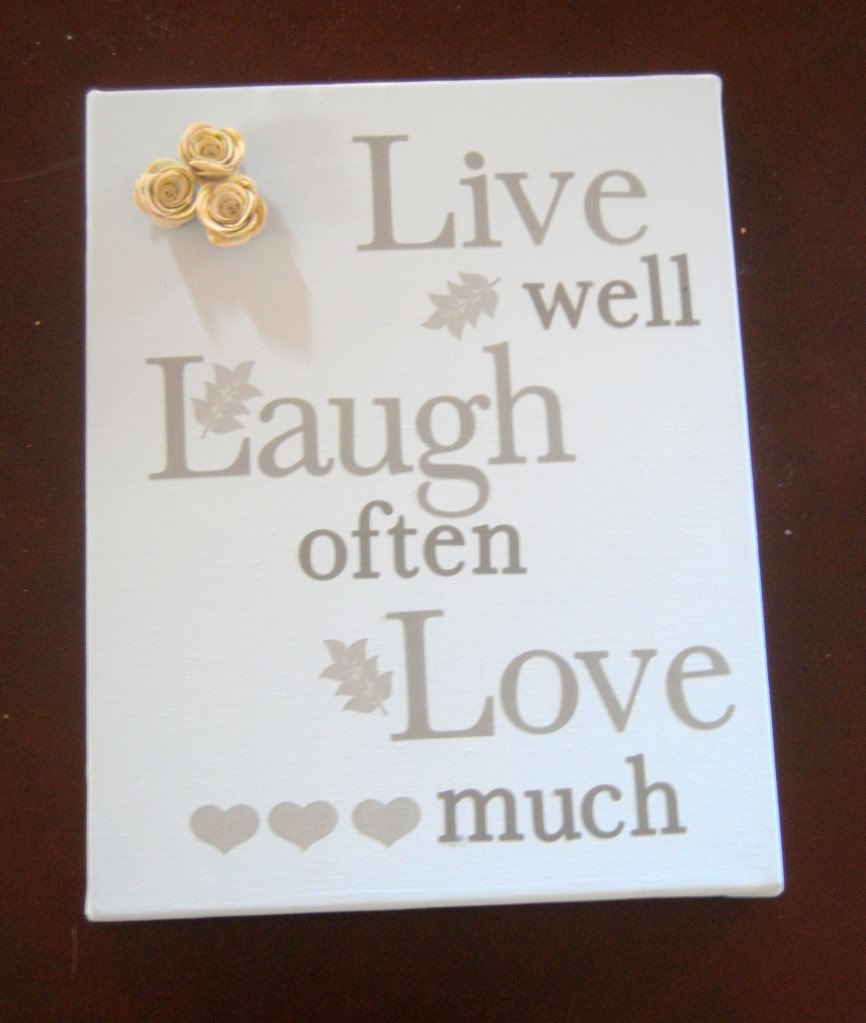
So here is where this craft comes into play. I made this last week. It was a very easy project. I was super excited when I found these stickers at the dollar store:

stickers

They are repositionable stickers for the wall. I have always known this saying, but in the last few weeks it seems like it has been everywhere. That’s when I decided that I would adopted it as my mantra, to remember to do those three things to the best of my ability.

Here is my supply list:

  • stickers
  • 11 x 14 canvas
  • paint
  • paint brush

003

The canvas I had on hand from a year or so ago when Big Lots was selling tons. The paint is a sample from Home Depot of Behr’s Premium Plus Ultra, Paint & Primer in one, in the color Millstream. It’s a really pretty light blue.

I didn’t take pictures of all the steps because I felt they were super easy and my very smart blogland friends would know right off the bat =)

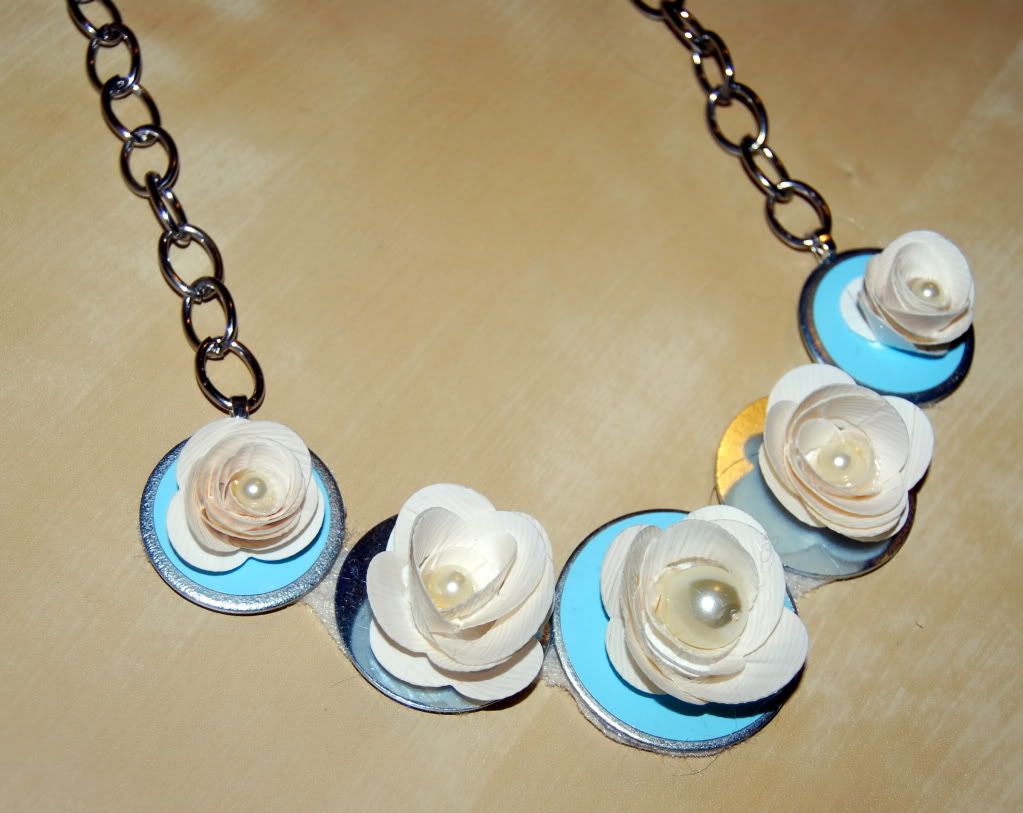
Painted canvas the night before and positioned stickers the next morning when dry. Store 3 flowers from another project that will be up later this week and hot glued them to the corner of the canvas. Here is a close up of the upcoming project:

flowers


They are quite a bit smaller than the other flowers I’ve been making, but I’m totally in love with them:

002

And here is my finished project again. I will be putting this in my room on the wall, along with a few other things I have picked up and a shelf that I still need to paint:

livelaughlove

I hope everyone is having a fantastic weekend!!

Friday, May 14, 2010

Mama Mia!

A little while ago, my son was invited to a birthday party for a 1 year old sweet little girl named Mia. My son goes to the junior gym with Mia’s older brother Max, but Kam is really smitten with Mia. I wanted to make her something unique for her birthday, so I came up with this personalized hooded towel:

miatowel

I had appliqued the letters in a damask fabric.

I also tried my hand at some of these popular flowers floating around the net and made her some hair clips:

miahairclips

I think they came out pretty cute. If you would like a tutorial for the clips let me know and I will make one.

Both gifts were a hit! Mia’s mommy says she wraps herself in the towel like a blanket and won’t put it down. Yay!!

Have a great weekend!!

Thursday, May 13, 2010

Flower Week Is Coming..Have you linked up?