


This is my first tutorial and I’m super excited! I hope I get this right, so go easy on me, perty please!
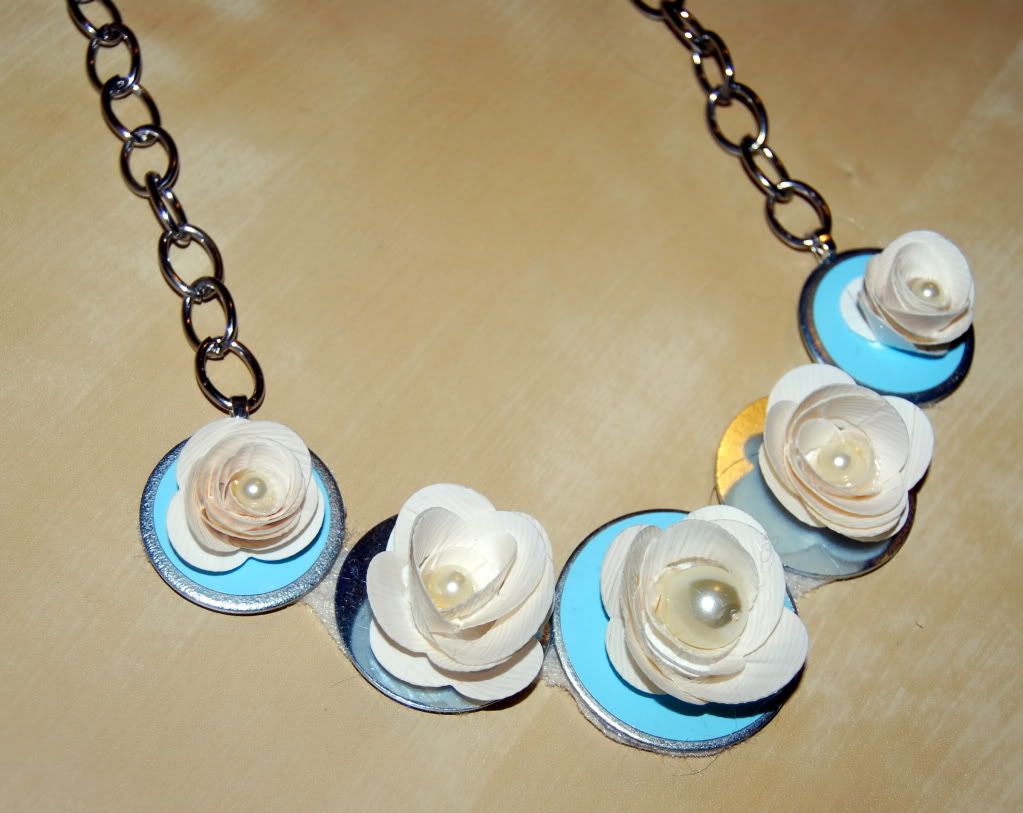
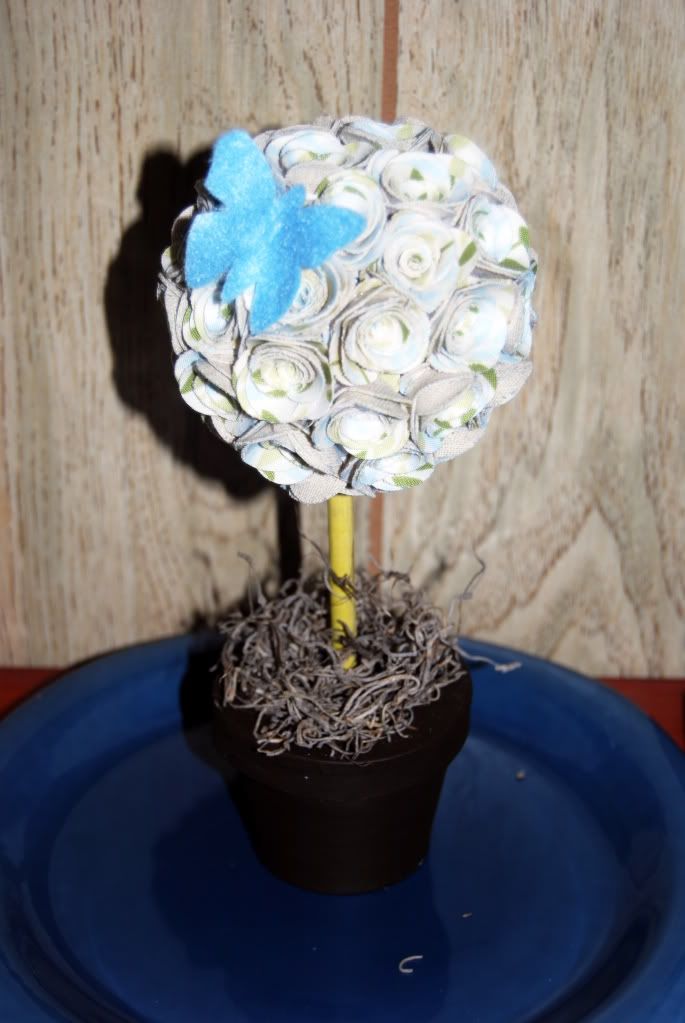
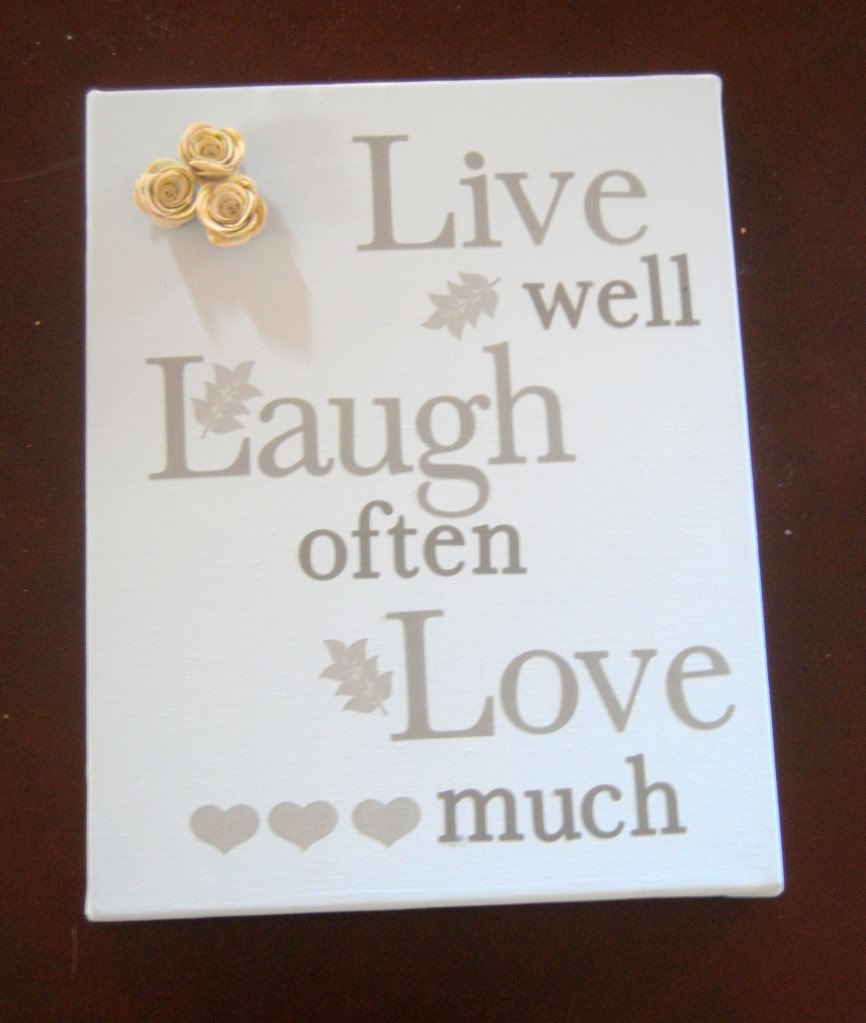
First, I have to say that I have been mildly obsessed with making 3d roses, as seen on my Rose Wreath. Here are some others I have made recently:

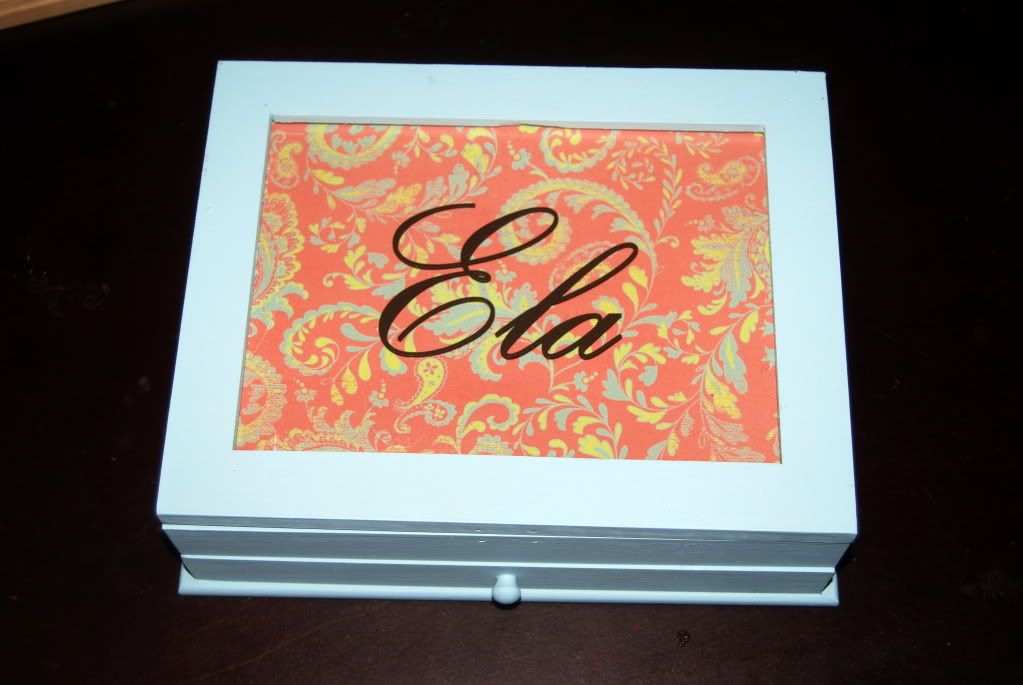
I have turned some into rings and hairclips that will be in my etsy store soon:


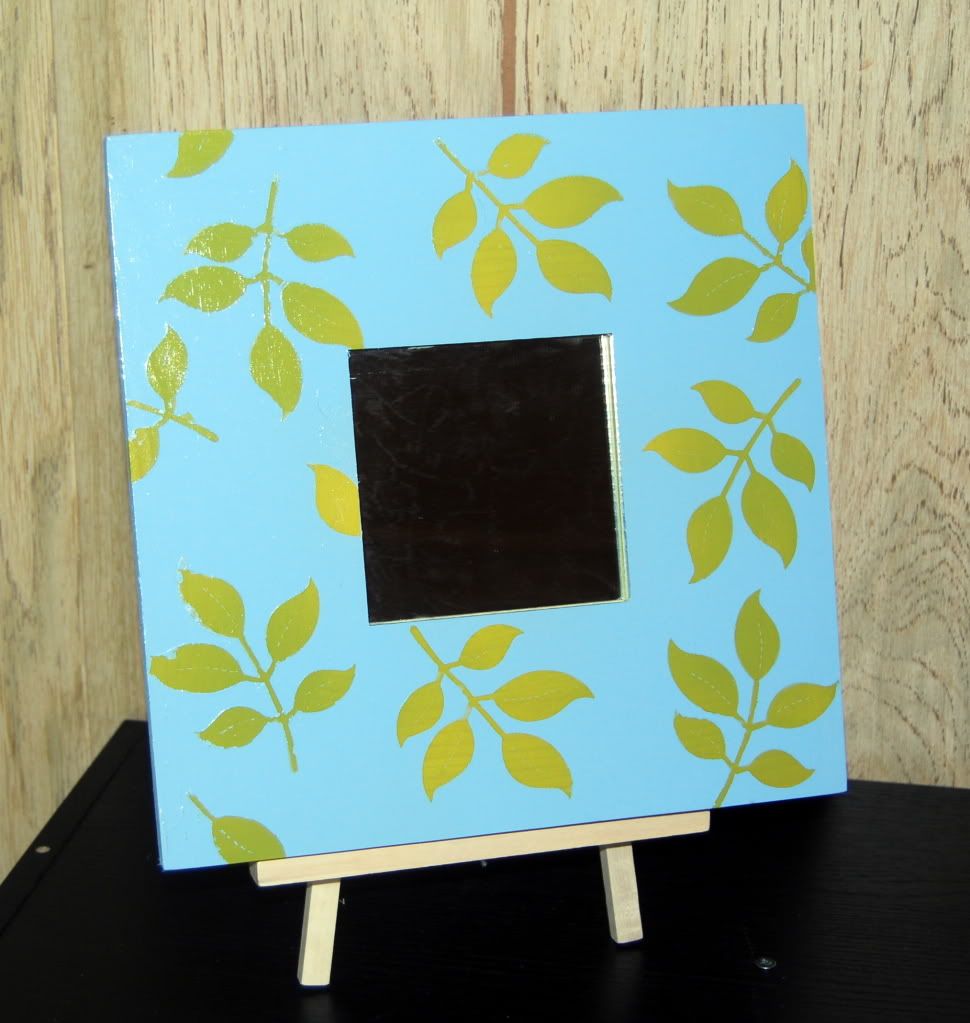
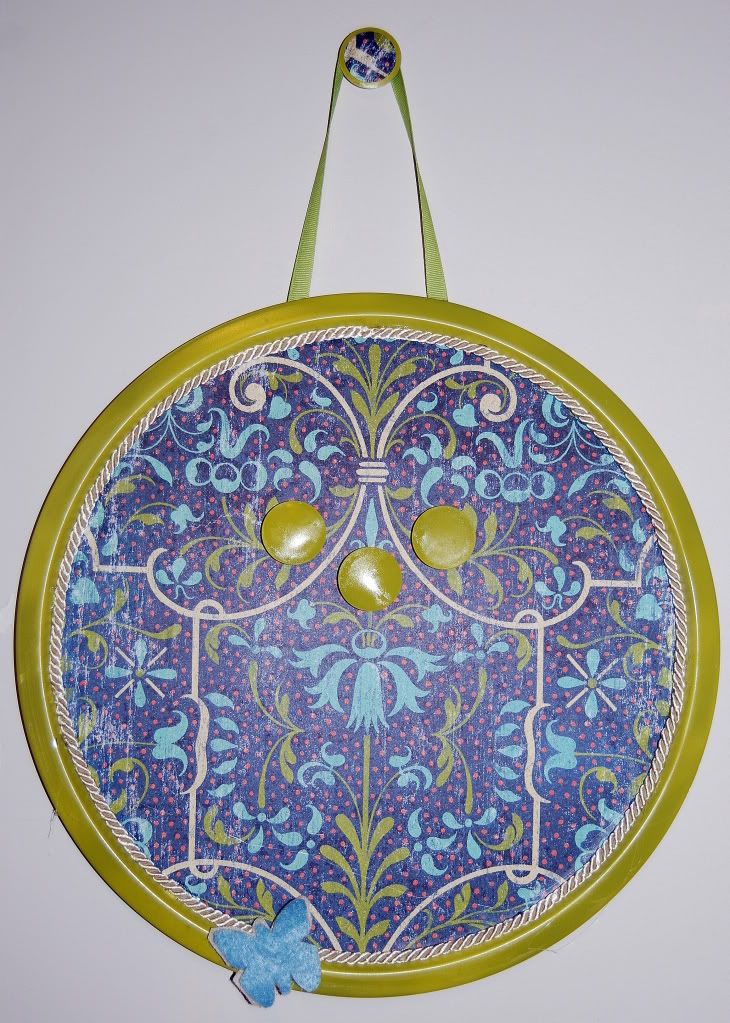
But for now, I will be showing you how to make this little piece of 3d flower art:

You will need:
- Fabric
- Felt
- Heat N Bond Light
- Felt Glue
- Jewel-It or any jewel embellishing glue
- Scissors
- Sizzix Lilac Flowers Die
- Cuttlebug or any die cutting machine
- Frame ( I picked this one up at the Dollar Tree)
- 4mm Bicones
- Extra leaf from flower stem or you can cut out your own
- Scrapbooking paper
This took me alot longer to do than was necessary because, since I like to craft with the TV on, I had Vampire Diaries on. Is there anyone else out there willing to admit that they watch this show? Is there anyone out there willing to admit that they SWOON over Damon Salvatore?? Yes, he’s very distracting. Moving on.
(not all supplies are pictured)

I found that the easiest way of doing this was to just cut a strip of fabric, felt and Heat N Bond, all the same size. First, iron your Heat N Bond to the wrong side of your fabric.

After about 5 minutes of drooling over Damon Once this has cooled down, peel the back of the Heat N Bond paper and you will see your fabric now has a shiny side. ( this is hard to photograph, but you will know what I mean). Next place shiny side down onto felt and iron. I was drooling some more and forgot to take a picture of this step, for no obvious reason =)
Once this has cooled, sandwich your cutting plates, lilac die, bonded fabric/felt piece and run through your die cut machine. ( I didn’t photograph this part because alot of die cut machines will require different plates, depending on the type of machine. If you have any questions here, don’t hesitate to ask.
I cut about 8 large and 8 small of fabric/felt fusion and the same amount in just the felt.
(I’m not realizing that this is not the world’s best tutorial because I did not take enough pictures. I promise from now on not to watch Vampire Diaries when I have the intention of doing a tutorial)
Basically, the next step is to find a sheet of scrapbook paper that best compliments your fabric and cut to size. Please behind the glass and put your frame back together.
Now take your felt glue and start gluing on your leaves right on the glass. Your leaves can be cut with the same die if you want to use fabric or paper. I happened to have some leaves left over from a flower bunch and I just used those. Then start gluing your non fabric fused felt shapes down, trying to mimic the picture on the die. Glue with felt glue, again, right on the glass.

After that, layer your fabric/felt pieces on over the plain ones.
I decided to add the Swarovski bicones in the center, rather than the pearls as on the cover, because I thought it made the fabric pop. I glued them down with the Jewel-It glue.
And that’s it!
So what have I learned today?
- No more watching Vampire Diaries while making something tutorial worthy
- Don’t assume
Damon Salvatore is hot
Anyway, that’s how you make the 3d flower art. I hope you like it. And go easy on me, I was drooling =)


Great tutorial. I love lilacs!!! I don't watch vampire diaries....but I think I might just have to give it a try now. ;-)
ReplyDeleteGreat job! These flowers came out great- love the ring!
ReplyDeleteThat's very cool! I love how it pops!
ReplyDeleteHow cute! I never would have thought about cutting fabric with my cuttlebug.....something to try!
ReplyDeleteThsi turned out fabulous! Love the added crystals! Great tutorial! Thanks so much for stopping by and joining the Sunday Showcase Party! I greatly appreciate it! Hope you have a great week! ~ Stephanie Lynn
ReplyDeleteSo pretty! It's a great tutorial. :) And I do the exact same thing in tutorials - get all caught up in everything else going on and forget to take pictures about halfway through. haha. But you explained it very clear. It turned out really cute!
ReplyDeleteYou did a great job on your tutorial!
ReplyDeleteI love all of your work.
Thanks for joining Get Your Craft on Thursday at Life As Lori... Please join me next week for another great party!
These are GORGEOUS, another great rose from Life in my PJ's! I hope you saw that I featured your rose wreath last week on Sugar & Spice.
ReplyDeleteAnd yes, yes I will admit that I have READ the Vampire Diaries. I only saw one episode of the TV show and am waiting to get the first season via Netflix, but the actor who plays Damon is H.O.T. - HOT!
Fun and whimsical...
ReplyDeleteI can see why you are obsessed--very cool looking!Thanks for linking up to the Under $100 Party!
ReplyDeleteThese are absolutely darling! Thanks again for sharing!
ReplyDeleteSuper cute Ela! Nice tutorial! Well done...love your blog.... i can relate....
ReplyDeleteI am writing in my PJ's!
Stop by...
love, kelee @ www.katillacshack.com
Great tutorial!
ReplyDeleteThanks for sharing at My Backyard Eden!
Here from Tatortots & Jello. Great idea. Your tutorial is great. Good job
ReplyDeleteHi..I’m Barb….I am from Saturdays are crafty days .. Love your blog & tutorial..Great job!!
ReplyDeleteI am your newest follower. I hope you will get a chance to visit my blog @ santasgiftshoppe.blogspot.com
& get inspired by something for your family/home. I hope you will follow me as well. Nice to meet ya new friend!!!
you are too funny, Johnny Depp tends to do that to me! lol. The flowers are so pretty, can't wait to try it, I have the perfect fabric but I'll have to buy the flower die.
ReplyDeleteGreat job on your first tutorial! It turned out really cute too!
ReplyDeleteThanks for linking my Flaunt it Friday party! Please come back next week.:)
That is really cool! I love that picture! Thanks for posting this on Favorite Things Friday! I love the name of your blog too - I feel like that is what I should have called mine!
ReplyDeleteVery cute! I am envious of your Sizzix machine. :D
ReplyDeleteThanks for linking up to the Mad Skills party!